Quick Start
Get HomelabARR CE running on your server. Pick one of the two install methods below and follow every step in order.
Before You Start
You need a Linux server with Docker installed. That's it.
Don't have Docker yet? Run this on your server:
curl -fsSL https://get.docker.com | sh
This is the official Docker installer script — you can review the source before running it if you prefer. It downloads and installs Docker Engine and Compose v2 on most Linux distributions.
Wait for it to finish. Then add your user to the Docker group so you don't need sudo for everything:
sudo usermod -aG docker $USER
Log out and back in for that to take effect. Then verify it worked:
docker --version
docker compose version
If both commands print a version number, you're good. If not, check the Docker docs.
Before you expose this to the internet
Read the Security guide to understand what ships by default and how to verify the security envelope on your deployment.
Method 1: Docker Compose (Recommended)
This is the fastest way to get up and running. Copy and paste these commands one at a time.
Step 1: Clone the repo
git clone https://github.com/imogenlabs/homelabarr-ce.git /opt/homelabarr
This downloads the entire repo — including all 100+ app templates — to /opt/homelabarr. The apps/ folder inside is what makes the catalog work. Don't skip this step.
Step 2: Go into the folder
cd /opt/homelabarr
Step 3: Set up your environment
You need to set three variables before starting. Copy and paste this entire block:
export JWT_SECRET=$(openssl rand -hex 32)
export DOCKER_GID=$(getent group docker | cut -d: -f3)
export CORS_ORIGIN=http://YOUR-SERVER-IP:8084
Replace YOUR-SERVER-IP — both times
Change YOUR-SERVER-IP to your actual server's IP address in the CORS_ORIGIN line, and again when you open the dashboard in Step 5. For example: http://192.0.2.100:8084
Don't know your server's IP? Run hostname -I and use the first address shown.
What these do:
- JWT_SECRET — a random secret key that signs your login sessions. Keep it private and don't commit it to version control.
- DOCKER_GID — the group ID that can talk to Docker on your server. This number varies by system.
- CORS_ORIGIN — tells the backend to accept requests from your browser. Must match exactly how you access the dashboard.
Persist with a .env file
These export commands only last until you close your terminal. To make them permanent, create a .env file — see the Configuration guide for details.
Step 4: Start HomelabARR
docker compose -f homelabarr.yml up -d
Docker will download the images (this takes a minute or two the first time) and start everything up.
Step 5: Open the dashboard
Open your web browser and go to:
http://YOUR-SERVER-IP:8084
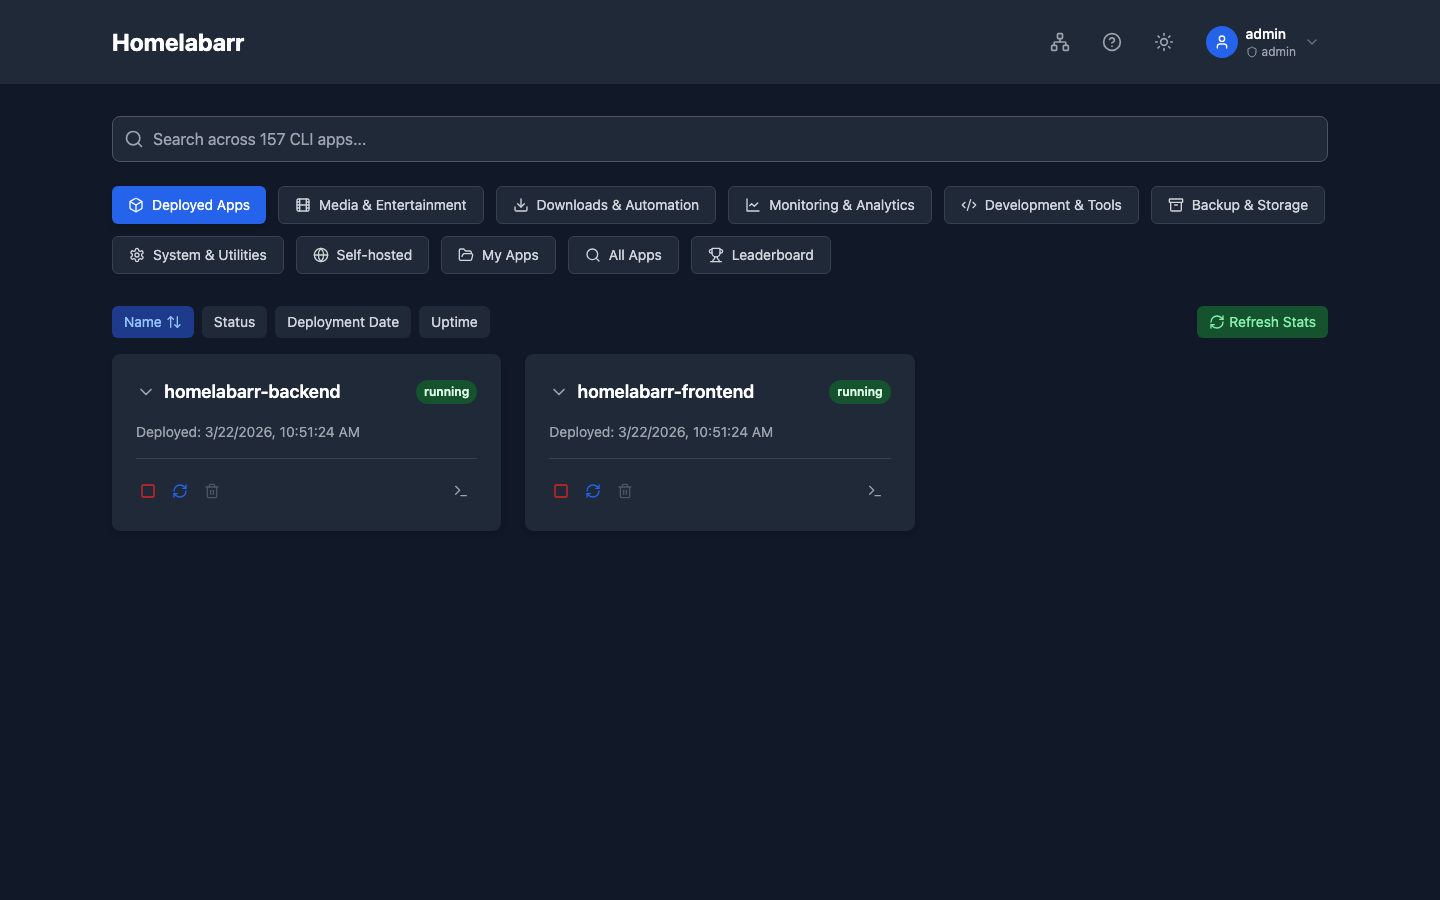
You should see the HomelabARR dashboard with 100+ apps ready to deploy.
Step 6: Log in and change your password
Click Sign In in the top right corner.
- Username:
admin - Password:
admin
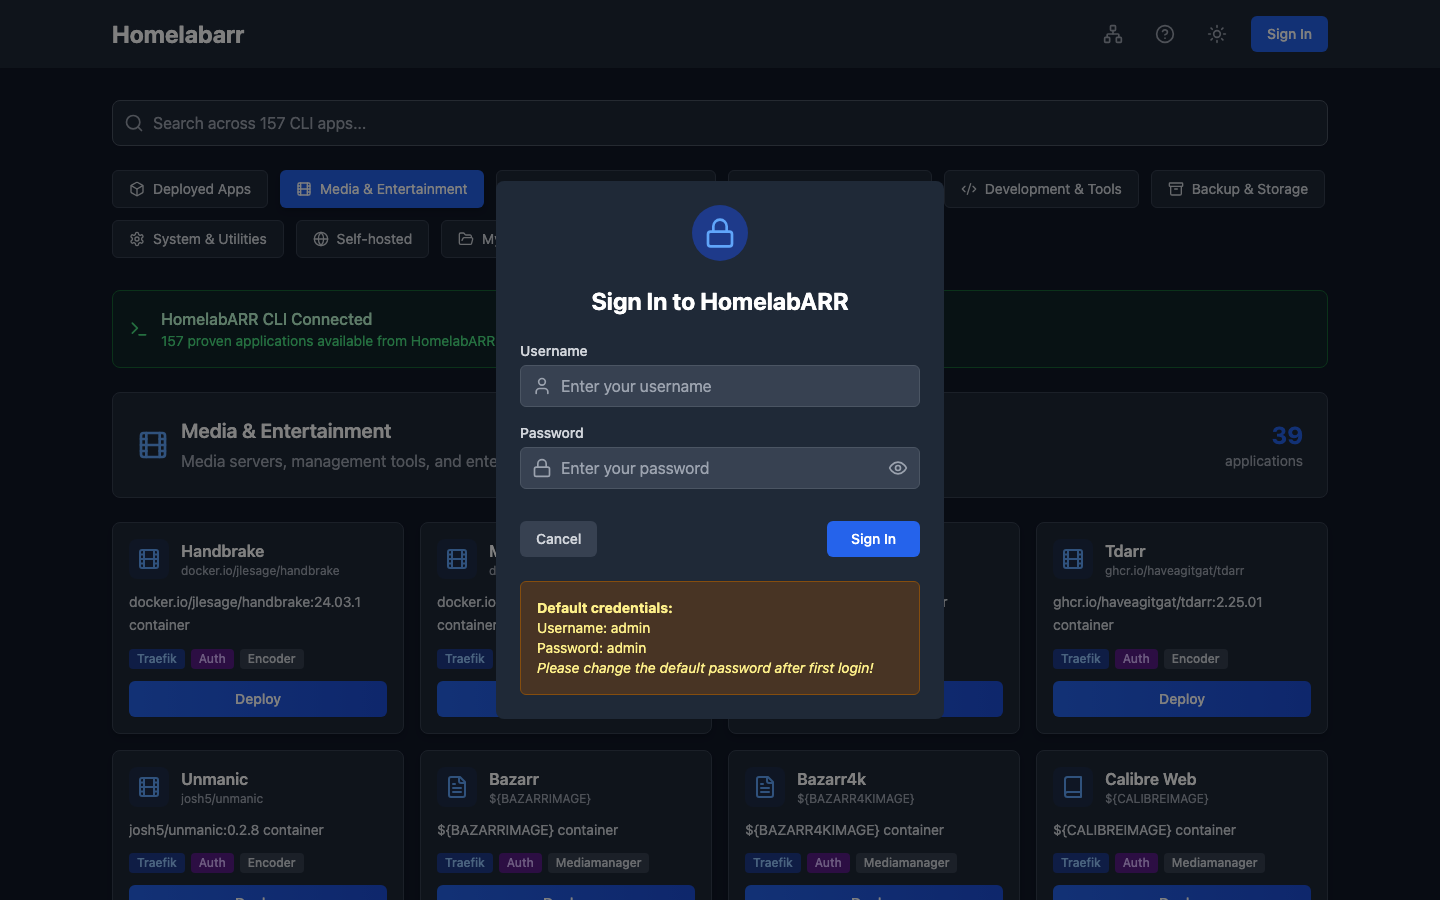
Change this now
The default admin/admin credentials are well-known. Anyone on your network can log in until you change them. After signing in, click your username in the top right and update your password before doing anything else.
Step 7: Deploy your first app
- Pick any app from the catalog — try Plex, Jellyfin, or Portainer to start
- Click the blue Deploy button on the app card
- Choose a deployment mode:
- Standard — the simple option. The app gets a port, you access it at
http://YOUR-SERVER-IP:PORT. No extra setup needed. Pick this if you're not sure. - Traefik — gives the app a real URL like
https://plex.yourdomain.comwith SSL. Requires a domain and Traefik. (Setup guide) - Traefik + Authelia — same as Traefik but adds a login page in front of the app
- Standard — the simple option. The app gets a port, you access it at
- Click Deploy and watch it install in real time
Your app is running. You can find it at http://YOUR-SERVER-IP:PORT — the port number is shown in the app card.
Method 2: One-Line Install
Prefer an interactive guided setup? The install script handles everything:
curl -fsSL https://raw.githubusercontent.com/imogenlabs/homelabarr-ce/main/install-remote.sh | sudo bash
What this script does
You can review the script before running it. It will ask you interactively for your timezone, user ID, and data paths — nothing happens without your input.
The script will:
- Check for Docker (and install it if missing)
- Clone the repo to
/opt/homelabarr - Walk you through setting your timezone, user ID, and data paths
- Configure Docker networks
- Start HomelabARR
What Now?
You've got HomelabARR running. Here's what to explore next:
- Browse the dashboard — check out all 10 categories of apps
- Web Dashboard Guide — learn what every button does
- Configuration — customise ports, paths, and settings
- Want apps on a custom domain with SSL? → Traefik & Domain Setup
Something Not Working?
I see the dashboard but no apps load
Make sure you cloned the repo in Step 1. The app templates live in the apps/ folder — without them, the dashboard has nothing to show.
I get a CORS error or the API won't connect
The CORS_ORIGIN variable needs to match exactly how you access the dashboard in your browser.
# If you access it at http://192.0.2.100:8084, set:
export CORS_ORIGIN=http://192.0.2.100:8084

# Then restart:
docker compose -f homelabarr.yml up -d
Containers won't deploy — "Docker socket" error
Make sure DOCKER_GID is set correctly:
# Check your Docker group ID:
getent group docker | cut -d: -f3

# Then set it and restart:
export DOCKER_GID=YOUR_NUMBER_HERE
docker compose -f homelabarr.yml up -d
Permission denied on /opt/appdata
Some apps store data in /opt/appdata. Create it with the right permissions:
sudo mkdir -p /opt/appdata
sudo chown -R $USER:$USER /opt/appdata
Running in a Proxmox LXC container?
Docker inside LXC needs AppArmor disabled. On your Proxmox host (not inside the container), run:
echo 'lxc.apparmor.profile: unconfined' >> /etc/pve/lxc/YOUR-VMID.conf
Replace YOUR-VMID with your container's ID number (like 100 or 999). Then restart the container from the Proxmox UI.